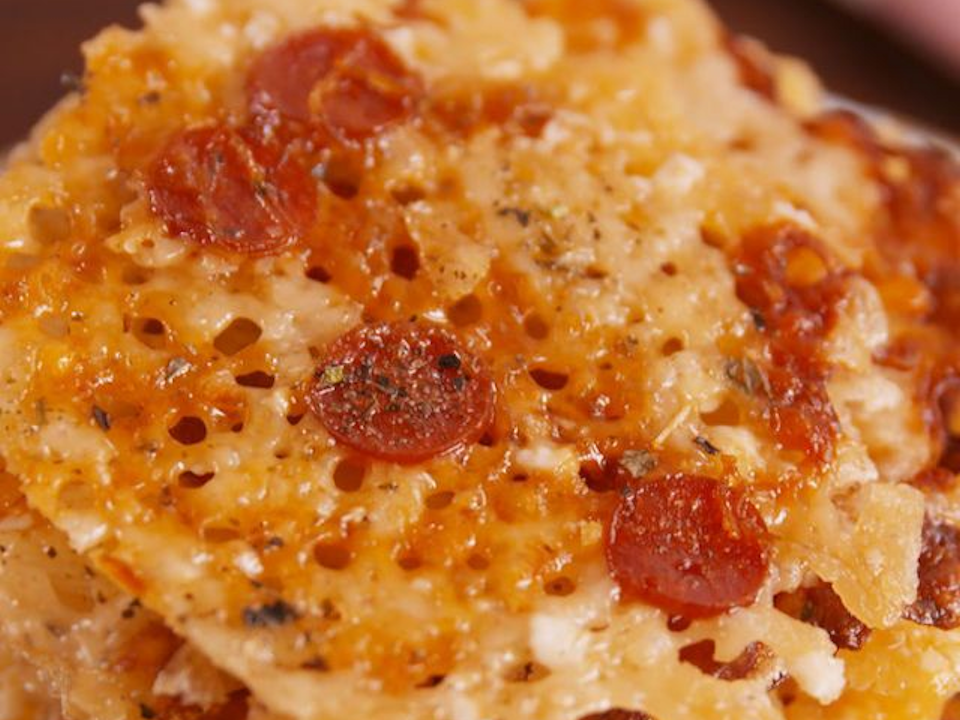
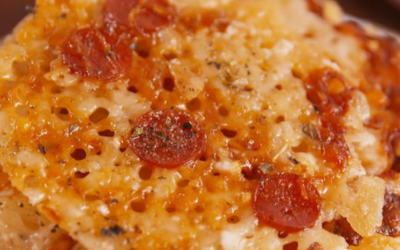
Pepperoni Pizza Crisps – It’s simple. Baking cheese makes it crispy, and it takes less than 30 minutes from start to finish before you’re scarfing them down. Top it with pepperoni or salami for added flavor.
Although it looks the part, pepperoni isn’t a traditional type of Italian cured sausage. Rather, it was invented by Italians who came to the United States in the early 20th century. In 1919, the pepperoni sausage first appeared in Lower Manhattan, New York City.
Pepperoni Pizza Crisps (NOLOW)
It’s simple. Baking cheese makes it crispy, and it takes less than 30 minutes from start to finish before you’re scarfing them down. Top it with pepperoni or salami for added flavor. (NOLOW – No or Low Carbs)
Preheat oven to 375º. Line two large baking sheets with parchment paper. Spoon about a tablespoon of Parmesan into a small mound on baking sheet. Top with about half tablespoon mozzarella. Carefully pat down on cheese to flatten, then place a few pepperoni slices on top. Sprinkle with Italian seasoning.
Bake until crispy and golden, about 12 minutes. Let cool slightly before transferring to serving dish.
Serve at room temperature with marinara sauce for dipping.
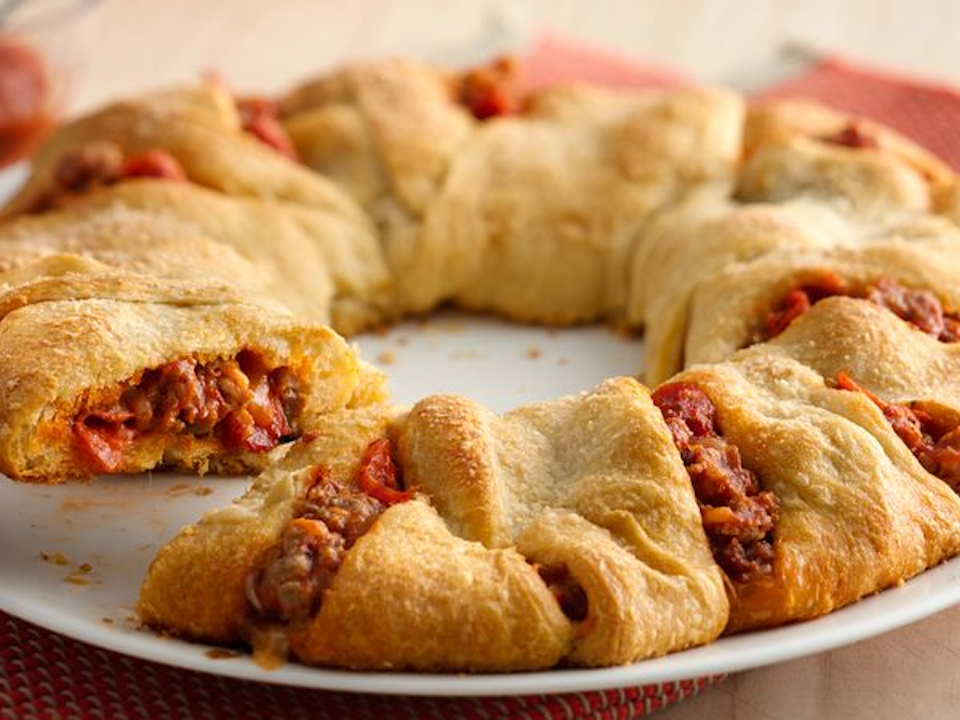
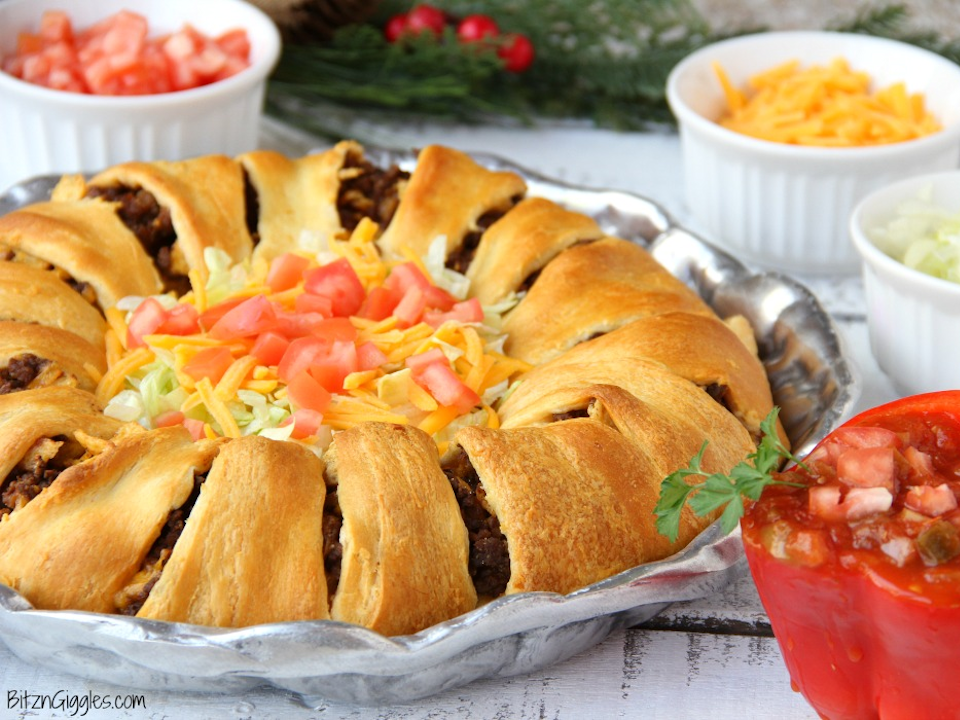
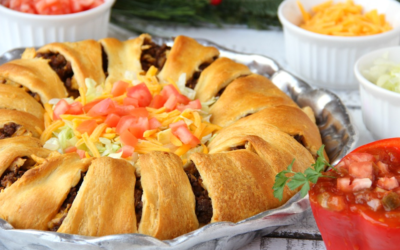
Pepperoni Pizza Ring – A favorite of kids and parents–pizza night with an easy twist…sure to be a regular on your weekly dinner menu! Great for the Big Game too!
We’ve got a recipe that is great as an after school snack or a simple dinner for pretty much any day of the week. It’s a great way to get the kids involved in the kitchen, too, so they’re not snarking at mom or dad to hurry up and make dinner! Our pepperoni pizza ring is definitely a favorite in our house and something that can feed a hungry crowd in under 30 minutes. Just a few items from the grocery store are all we need to whip up a pizza ring.
Preheat oven to temperature as directed on crescent roll packaging. Lightly grease a 12-inch pizza pan or baking sheet with cooking spray.
Unroll both cans of dough, separate along perforated lines into triangles. Overlap triangles at the widest point, with the narrow end pointing outward, to form a circle.
Sprinkle ½ cup of cheese evenly around the ring, then top with spoonfuls of sauce, spreading evenly into one layer. Top with pepperoni slices and remaining half cup of cheese.
Fold pointed end of each triangle over top of filling, tucking dough under the bottom layer to secure. Sprinkle top of dough with Italian seasoning and bake until dough is cooked through and golden brown, about 18-22 minutes. Cool slightly before slicing to serve.
Notes
Add some veggies for extra flavor! Great additions include fresh sliced mushrooms, chopped green bell peppers and chopped onions. You can also brown some ground italian sausage and add that.
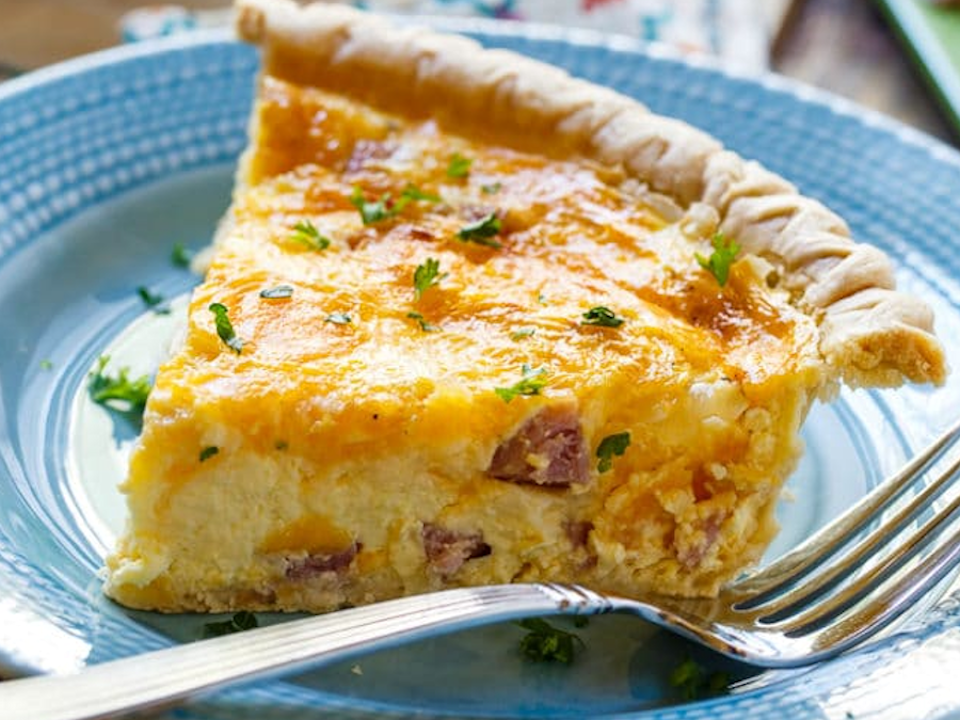
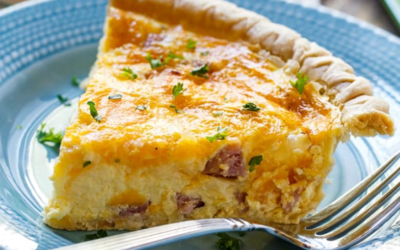
Quiche Lorraine – This brings back a flood of memories. Nancy started to make quiche shortly after we got married. Then every week-end we had quiche. Nancy has always been creative in the kitchen. I use to call this a “quicky” breakfast.
When most people think of quiche, they tend to assume that it’s French in origin. That’s only natural, since it was in France that quiche first became popular, and it’s been a staple of French cuisine for centuries. Surprisingly, though, the quiche actually originated in Germany.
Unroll pie crust and press into a 9" pie plate, crimping the top edges if desired.
In a large bowl, whisk together eggs, milk, salt and pepper.
Sprinkle ham, 1 cup of cheese, and green onions into the pie crust and pour the egg mixture over top. Sprinkle remaining 1/2 cup cheese on top of egg mixture.
Bake for 35-40 minutes until the center is completely set. Let cool for 5-10 minutes before slicing and serving.
The origin of the croissant can actually be traced back to 13th century Austria, where it was called the kipferl, the German word for crescent. However it was an Austrian artillery officer August Zang who founded a Viennese bakery at 92, rue du richelieu in Paris.
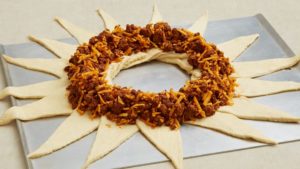
Heat a large skillet over medium-high heat. Cook and stir beef and onion in the hot skillet until beef is browned and crumbly, 5 to 7 minutes; drain and discard grease. Add water and taco seasoning to beef mixture; bring to a boil. Reduce heat to medium-low and simmer, stirring occasionally, until water is evaporated, 10 to 15 minutes.
Preheat oven to 375 degrees F (190 degrees C). Remove crescent roll dough from packaging and separate into individual pieces.
Arrange crescent roll triangles in a circle with the points facing outward on a pizza stone or pan. Spoon ground beef mixture into the center of each dough piece, creating a ring shape. Sprinkle Mexican cheese blend over ground beef mixture. Fold crescent roll points toward the middle, sealing the dough together.
Bake in the preheated oven until dough is lightly browned, 11 to 13 minutes.
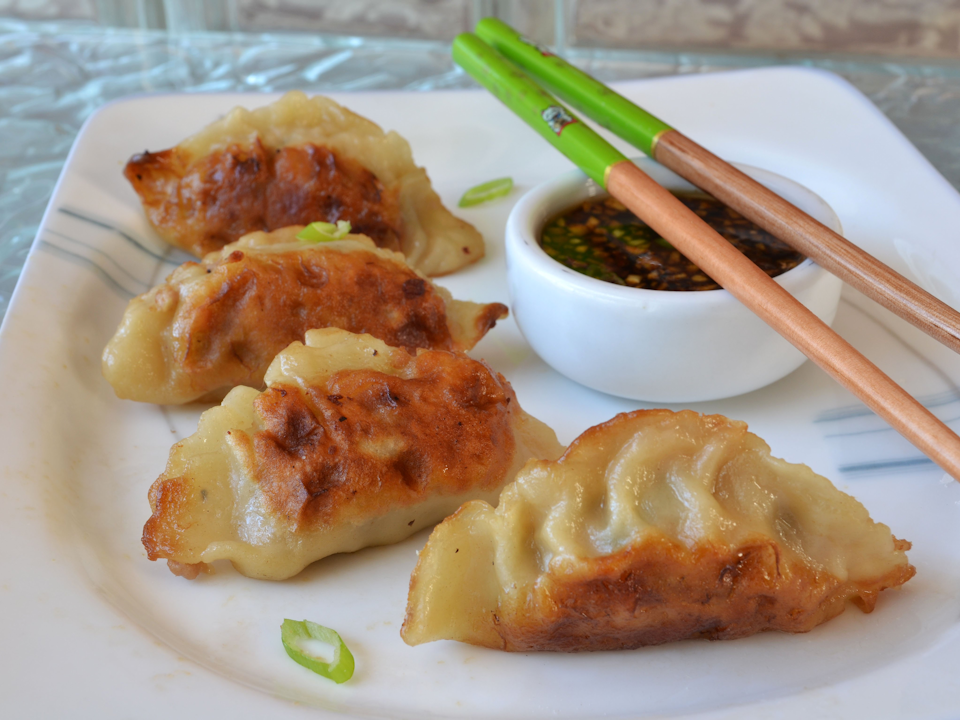
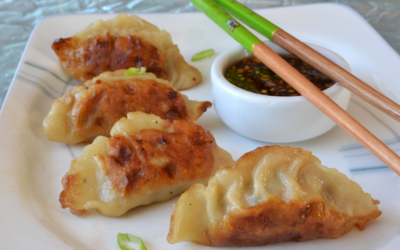
Homemade pot stickers are so versatile–you can fill them with anything you want and as full as you want. And the play between the crispy, crusty bottom, and the tender parts, makes for a truly unique dumpling. These are filled with ground pork, green onions, ginger, and cabbage.
Like most foods that have been around for centuries, we’re not exactly 100% certain how potstickers came to be. So while we do know that the actual potsticker origin can be traced back all the way to the Chinese Song dynasty (960 to 1280 A.D.), who invented them and why remains a mystery for the ages
Place ground pork, green onions, garlic, ginger, 2 tablespoon plus 1 teaspoon soy sauce, sesame oil, and cayenne in a mixing bowl. Top with chopped green cabbage. Mix with fork until thoroughly combined. Tamp down lightly; cover with plastic. Refrigerate until chilled, about an hour.
Place flour and kosher salt in a mixing bowl. Slowly pour in hot water. Stir with a wooden spoon until mixture forms a shaggy dough. Flour your hands and transfer dough to a work surface. Knead dough until it becomes smooth and elastic. If dough seems too sticky, sprinkle with a bit more flour, about 3 to 5 minutes. Wrap dough ball in plastic, and let it rest about 30 minutes.
When dough has rested, divide into 4 equal pieces. Cover 3 pieces with a dish cloth while you work the first piece. Roll into a small log about the thickness of a thumb, about 3/4 inch. Divide each log into 6 equal pieces. Roll each piece into a thin 3 1/2-inch circle on a lightly floured surface to form the pot sticker wrappers. Repeat with the remaining dough pieces.
Lightly moisten the edges of a wrapper with your wet finger. Place a small scoop of the ground pork mixture onto the center of a wrapper. Fold up the 2 sides and pinch together in the center. Pinch together the remaining edges, forming "pleats" along one side. Tap the pot sticker on the work surface to slightly flatten the bottom; form a slight curve in it so it stands upright in the pan. Transfer to a well-floured plate. Repeat with remaining dough and filling.
Mix together seasoned rice vinegar and soy sauce in a small mixing bowl for the dipping sauce.
Heat oil in skillet over medium-high heat. Place about 6 or 7 pot stickers in the hot oil, flat side down. Cook until bottoms are golden brown, about 2 minutes. Drizzle in water and quickly cover the pan; steam for 3 minutes. Uncover; reduce heat to medium. Continue cooking until water evaporates and bottoms are browned and crunchy, 1 or 2 minutes. Transfer to a warm serving dish. Repeat with remaining pot stickers. Serve with dipping sauce.
Notes
You can spike dipping sauce with things like hot sauce, garlic, minced green onions, ginger, etc.From Allrecipes.com
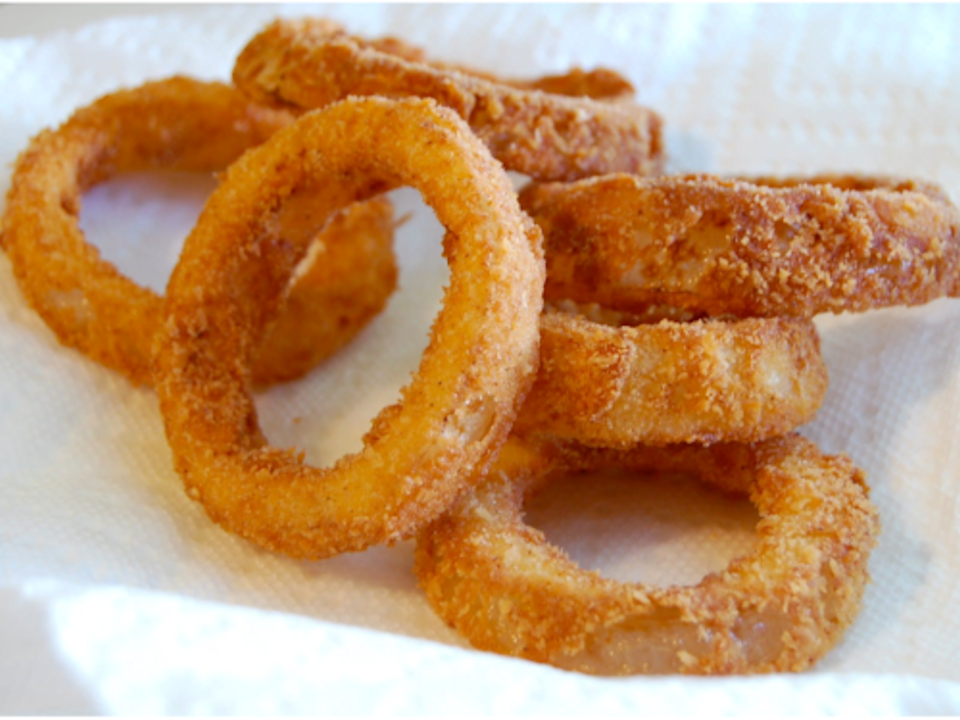
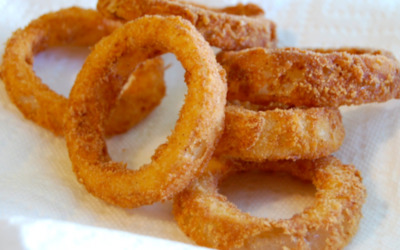
The first known recipe for onion rings appears in a British cookbook written by a chef named John Mollard called The Art of Cookery, Made Easy and Refined. It was published in England in 1802. Surprisingly, Mollard’s early onion rings weren’t all that different from the fried snack we enjoy today! His recipe for “fried onions,” as he called them, involved dipping half-inch-thick onion slices in batter, frying them in lard, and serving them with a side of mustard-spiked melted butter.
Peel onions and slice into 1/2" thick rings. Place sliced onions in a large freezer bag with 1 cup of buttermilk and let sit at least 30 minutes turning occasionally.
Preheat oven to 425°F.
Mix buttermilk, eggs and 2 tablespoons of flour until smooth. Set aside.
In a separate bowl, combine Panko Bread Crumbs, olive oil and seasonings.
Remove onions from the ziploc bag and drain well. Place onions in a bag with 1/2 cup of flour and shake to coat.
Separate the Panko mixture into 2 small bowls. One by one, dip each onion into the egg mixture and then into the Panko mixture to coat.
Place on a parchment lined pan. Bake 10 minutes, flip over and bake an additional 10-15 minutes until browned and crispy.