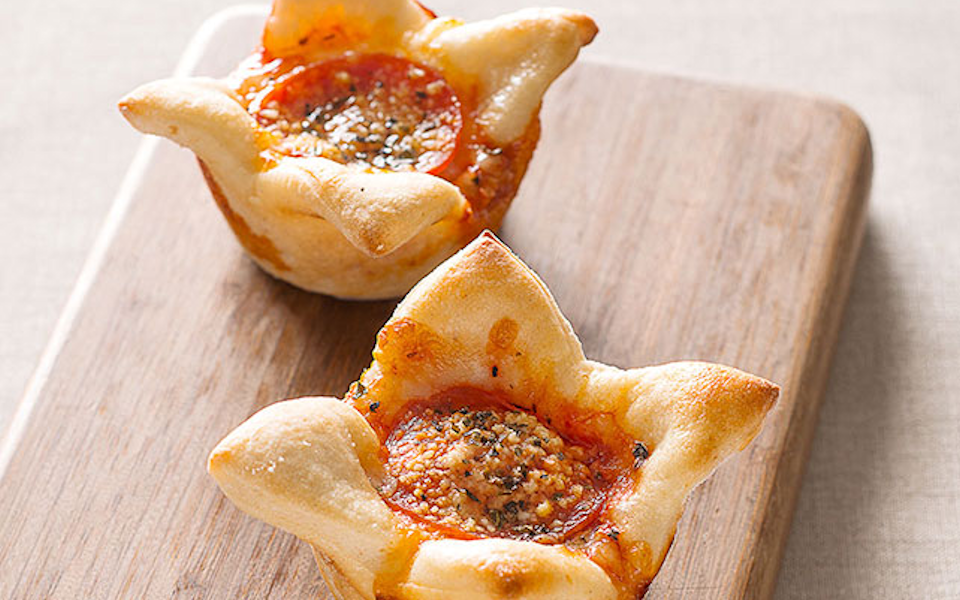
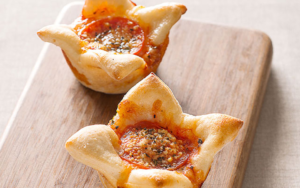
Chicago-style pizza is pizza prepared according to several styles developed in Chicago. It can refer to both the well-known deep-dish or stuffed pizzas and the lesser-known thin-crust tavern-style pizzas more popular with locals. The pan in which deep-dish pizza is baked gives the pizza its characteristically high edge, which provides ample space for large amounts of cheese and a chunky tomato sauce. Chicago-style deep-dish pizza may be prepared in the deep-dish style and as a stuffed pizza. Chicago-style thin-crust pizza dough is rolled for a thinner crispier crust than other thin-crust styles. The thin-crust pizza is cut in squares instead of slices, and is also referred to as a “tavern-style” pizza.
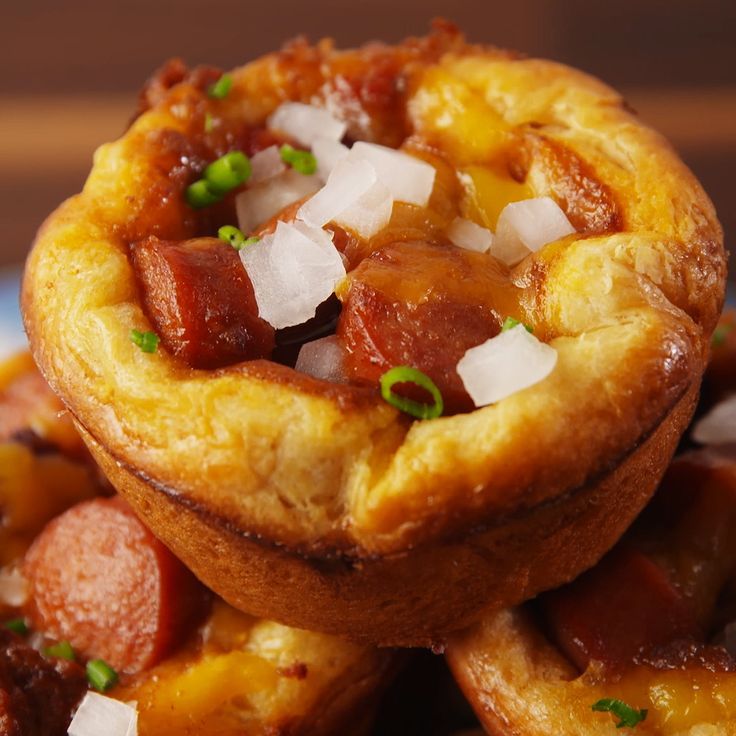
A chili dog is a hot dog served in a bun and topped with a meat sauce, such as chili con carne. Additional toppings may include cheese, onions, and mustard. The style has multiple regional variations in the United States, many calling for specific and unique sauce ingredients, types of hot dogs, or types of buns and referred to regionally under region-specific names.
Preheat oven to 325º F. Grease 2 muffin trays with nonstick cooking spray.
Carefully slice biscuits in half and press into the inside of the muffin cups.
Spoon heaping tablespoons of chili into the biscuit cups and top with 4-5 slices hot dog and a sprinkling of cheddar cheese.
Brush overhanging biscuit dough with egg wash and bake until golden, 20-25 minutes. Top with onion and chives and serve. (Egg Wash, it's beaten egg either plain, or mixed with milk or water. You brush the wash over your pastry dough before baking so that it browns.)
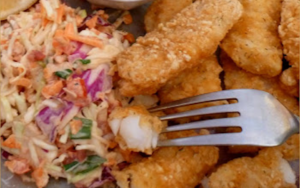
Crispy Cod Fingers are a fantastic budget family meal with a crunchy slaw and sweet potato wedges. This easy, crowd pleasing recipe is low-fat and full of fresh flavor.
The term “fish finger” is first referenced in a recipe given in a popular British magazine in 1900,[1] and the dish is often considered symbolic of the United Kingdom.
The food restrictions during and after WWII expanded the consumption of fish fingers, but companies struggled to maintain decent quality. The commercialization of fish fingers may be traced to 1953 when the American company Gorton-Pew Fisheries, now known as Gorton’s, was the first company to introduce a frozen ready-to-cook fish finger; the product, named Gorton’s Fish Sticks, won the Parents magazine Seal of Approval in 1956. The developer of those fish sticks was Aaron L. Brody.
Rinse the cod, pat it dry, and slice it into strips about 1 inch thick.
Mix the flour with the salt and pepper on a dish.
Whisk the egg with 2 TBSP water in a bowl.
Mix together the cornstarch, dill, cayenne, and paprika on another dish.
Dredge the fish, one piece at a time in the flour, then dip in the egg, then coat completely with the cornstarch.
Pour about 1/2 inch of oil into a large skillet. Heat over medium high until hot. If you gently drop a little cornstarch in the skillet and it sizzles, it's hot enough.
Very carefully add the fish fingers to the skillet, try not to let them touch each other. Allow to cook, about 2 minutes, until they start to brown. If the oil sputters, turn the heat down just a little.
Gently roll the fish fingers over and cook on the other side, about 2 minutes. Remove to paper towels, sprinkle with salt, and allow to drain.
Serve with Thousand Island dressing, Malt Vinegar or tartar sauce for dipping, and/or fresh lemon wedges to squeeze over the top of the fish.
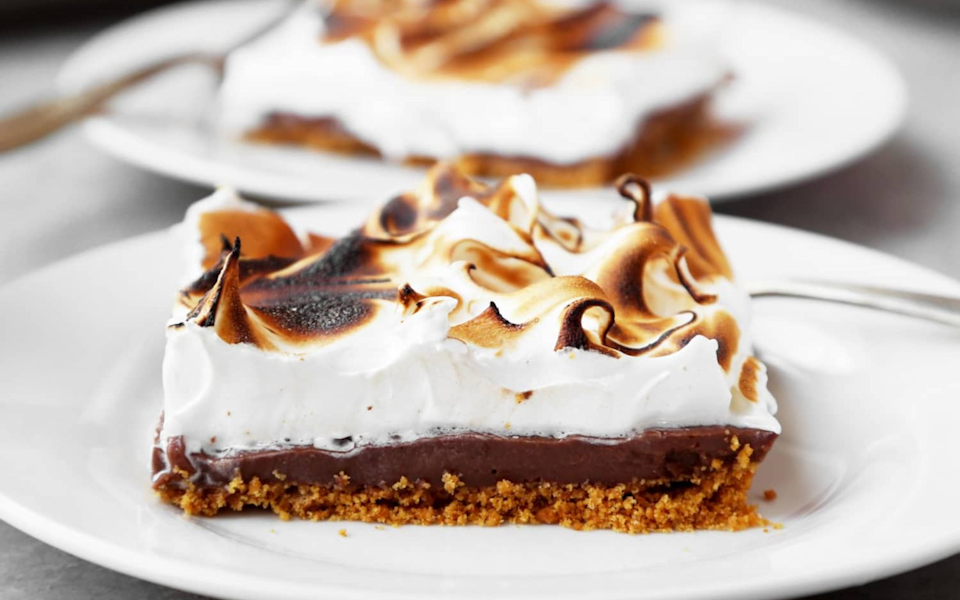
Smores Slab Pie – S’mores get a sheet-pan makeover in this summery treat loaded with marshmallow crème and chocolate pudding atop a buttery graham cracker crust.
S’mores first appeared in a 1920s US cookbook as a recipe called the ‘Graham Cracker Sandwich’ where a toasted marshmallow and half a chocolate bar were sandwiched between Graham Crackers – a sweet biscuit made with graham flour and flavored with honey or cinnamon.
Heat oven to 350°F. Spray 15x10x1-inch pan with cooking spray.
In medium bowl, mix Crust ingredients with fork until well blended. Press evenly in bottom and up sides of pan. Bake 10 to 14 minutes or until set. Cool 10 minutes.
Meanwhile, in 4-quart saucepan, cook milk and pudding mixes over medium heat 10 to 14 minutes or until mixture comes to a full boil, stirring constantly. Remove from heat. Add chocolate chips; stir until melted and smooth. Pour into baked crust; spread evenly. Cool at room temperature 15 minutes, then cover filling with plastic wrap. Refrigerate at least 2 hours or until set.
When ready to serve, remove plastic wrap from filling. In large bowl, beat cream cheese and marshmallow creme with electric mixer on medium speed until smooth. Beat in whipped topping. Drop by spoonfuls over chilled pudding layer; spread evenly over top.
In small microwavable bowl, microwave frosting uncovered on High 10 to 15 seconds or until thin enough to drizzle. Using a fork, drizzle warmed frosting and sprinkle 1/4 cup graham cracker pieces over top.
Cut into 4 rows by 4 rows. Cover and refrigerate any remaining pieces.
A taco is a traditional Mexican food consisting of a small hand-sized corn- or wheat-based tortilla topped with a filling. The tortilla is then folded around the filling and eaten by hand. A taco can be made with a variety of fillings, including beef, pork, chicken, seafood, beans, vegetables, and cheese, allowing for great versatility and variety. They are often garnished with various condiments, such as salsa, guacamole, or sour cream, and vegetables, such as lettuce, onion, tomatoes, and chiles. Tacos are a common form of antojitos, or Mexican street food, which have spread around the world.
There is significant debate about the origins of the taco in Mexico, with some arguing that the taco predates the arrival of the Spanish in Mexico, since there is anthropological evidence that the indigenous people living in the lake region of the Valley of Mexico traditionally ate tacos filled with small fish. Writing at the time of the Spanish conquistadors, Bernal Díaz del Castillo documented the first taco feast enjoyed by Europeans, a meal which Hernán Cortés arranged for his captains in Coyoacán.
Others argue that the advent of the taco is much more recent, with one of the more popular theories being that the taco was invented by silver miners in the 18th century, however the first mention of the word “taco” in Mexico was in the 1891 novel Los bandidos de Río Frío by Manuel Payno.
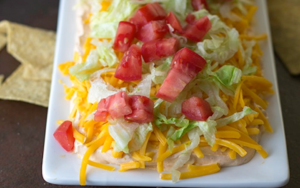
Now with this taco dip recipe you can turn every nacho you dip in to a mini taco. Try some of our other Mexican recipes.
Taco Dip
This Taco Dip is simple to make, and delicious, and you will find that every time you make it, someone will be asking for the recipe.
In the bowl of your mixer, combine cream cheese, sour cream, and taco seasoning and mix until the dip is light and creamy. You can also use a food processor. If there are clumps, it likely means you didn’t let the cream cheese soften enough.
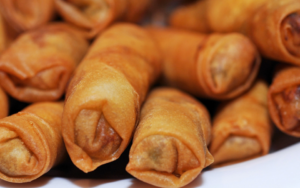
Lumpia are Filipino fried spring rolls filled with ground pork and mixed vegetables. Serve them as an appetizer or finger food, with a sweet and sour dipping sauce.
Lumpia was introduced to the Philippines during the pre-colonial period by early Hokkien immigrants and traders from Fujian between 900 and 1565 AD. The name is derived from Hokkien, a language that originated in southeastern China: “lun” means wet, moist, or soft, and “pia” means cake or pastry.
Lumpia are Filipino fried spring rolls filled with ground pork and mixed vegetables. Serve them as an appetizer or finger food, with a sweet and sour dipping sauce.
1pkgLumpia wrappersChinese or Vietnamese spring roll wrappers meant for frying can be used
2lbsground pork
1inchgingerpeeled and minced
2tbspsoy sauce
2largeeggsslightly beaten
3dashesblack pepper
6ozcabbagethinly sliced
Instructions
Using a serrated knife, cut the square lumpia wrappers in half so that you have two stacks of rectangular wrappers. Place a damp paper towel over the wrappers to keep them from drying out as you work.
Combine the pork, cabbage, garlic, ginger, soy sauce, eggs, and black pepper in a large bowl. Using your hands, or a rubber spatula, mix the filling well so that the seasonings are evenly distributed.
Place one of the rectangular wrappers vertically on your work surface with the short edge facing you. Place a heaping teaspoon of the filling on the wrapper about half an inch from the edge closest to you. Grasp the bottom edge of the wrapper and roll it up and over the filling, continuing to roll until 2 inches of wrapper remain.
Dip two fingers into a bowl of water, then moisten the last 2 inches of wrapper with your fingers. Finish rolling the lumpia, then rest it on its seam. Continue rolling with the rest of the filling and lumpia wrappers.
At this point, you can freeze your rolled lumpia if you wish by placing them in freezer bags and then into your freezer.
To cook the lumpia, fill a large frying pan with about 1/2-inch of vegetable oil. Heat the oil over medium-high heat. Gently place the lumpia into the hot oil and fry until golden brown on all sides, 3 to 5 minutes total (if frying frozen lumpia, it will take 1 to 2 minutes longer).
Place the fried lumpia on paper towels and serve immediately with sweet and sour sauce (bottled from the store is fine).
Notes
You can also add finely minced raw shrimp to the pork mixture if you’d like. Also, instead of ground pork, you can use ground beef or ground turkey.