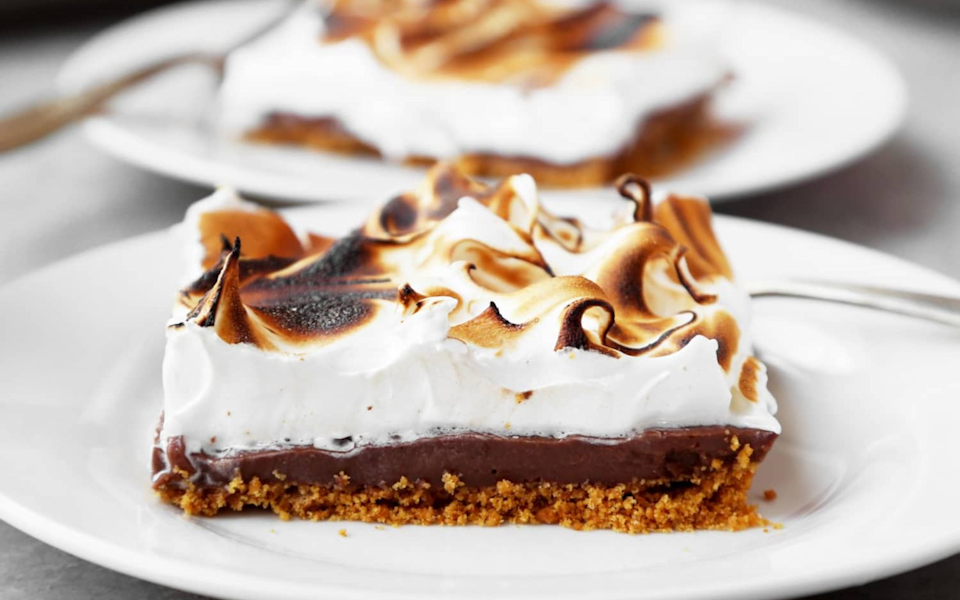
Smores Slab Pie – S’mores get a sheet-pan makeover in this summery treat loaded with marshmallow crème and chocolate pudding atop a buttery graham cracker crust.
S’mores first appeared in a 1920s US cookbook as a recipe called the ‘Graham Cracker Sandwich’ where a toasted marshmallow and half a chocolate bar were sandwiched between Graham Crackers – a sweet biscuit made with graham flour and flavored with honey or cinnamon.
Heat oven to 350°F. Spray 15x10x1-inch pan with cooking spray.
In medium bowl, mix Crust ingredients with fork until well blended. Press evenly in bottom and up sides of pan. Bake 10 to 14 minutes or until set. Cool 10 minutes.
Meanwhile, in 4-quart saucepan, cook milk and pudding mixes over medium heat 10 to 14 minutes or until mixture comes to a full boil, stirring constantly. Remove from heat. Add chocolate chips; stir until melted and smooth. Pour into baked crust; spread evenly. Cool at room temperature 15 minutes, then cover filling with plastic wrap. Refrigerate at least 2 hours or until set.
When ready to serve, remove plastic wrap from filling. In large bowl, beat cream cheese and marshmallow creme with electric mixer on medium speed until smooth. Beat in whipped topping. Drop by spoonfuls over chilled pudding layer; spread evenly over top.
In small microwavable bowl, microwave frosting uncovered on High 10 to 15 seconds or until thin enough to drizzle. Using a fork, drizzle warmed frosting and sprinkle 1/4 cup graham cracker pieces over top.
Cut into 4 rows by 4 rows. Cover and refrigerate any remaining pieces.
A taco is a traditional Mexican food consisting of a small hand-sized corn- or wheat-based tortilla topped with a filling. The tortilla is then folded around the filling and eaten by hand. A taco can be made with a variety of fillings, including beef, pork, chicken, seafood, beans, vegetables, and cheese, allowing for great versatility and variety. They are often garnished with various condiments, such as salsa, guacamole, or sour cream, and vegetables, such as lettuce, onion, tomatoes, and chiles. Tacos are a common form of antojitos, or Mexican street food, which have spread around the world.
There is significant debate about the origins of the taco in Mexico, with some arguing that the taco predates the arrival of the Spanish in Mexico, since there is anthropological evidence that the indigenous people living in the lake region of the Valley of Mexico traditionally ate tacos filled with small fish. Writing at the time of the Spanish conquistadors, Bernal Díaz del Castillo documented the first taco feast enjoyed by Europeans, a meal which Hernán Cortés arranged for his captains in Coyoacán.
Others argue that the advent of the taco is much more recent, with one of the more popular theories being that the taco was invented by silver miners in the 18th century, however the first mention of the word “taco” in Mexico was in the 1891 novel Los bandidos de Río Frío by Manuel Payno.
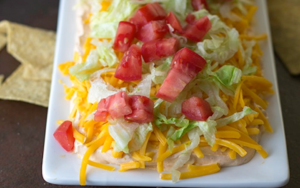
Now with this taco dip recipe you can turn every nacho you dip in to a mini taco. Try some of our other Mexican recipes.
Taco Dip
This Taco Dip is simple to make, and delicious, and you will find that every time you make it, someone will be asking for the recipe.
In the bowl of your mixer, combine cream cheese, sour cream, and taco seasoning and mix until the dip is light and creamy. You can also use a food processor. If there are clumps, it likely means you didn’t let the cream cheese soften enough.
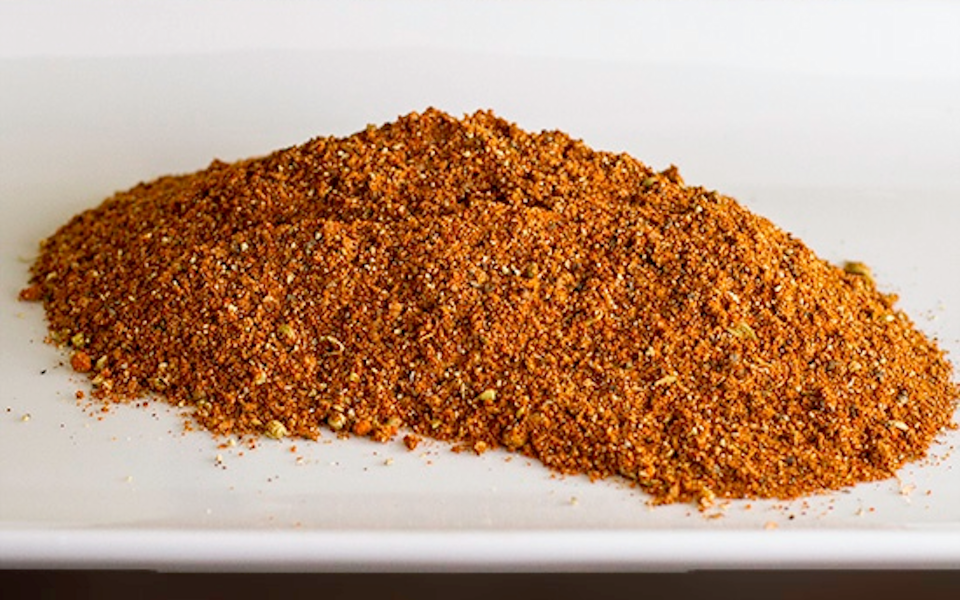
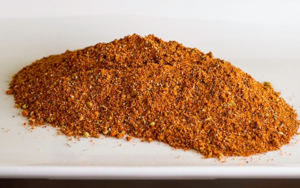
Homemade Taco Seasoning is comprised of 10 different spices and seasonings that you likely already have in your pantry!
Origin
Chili powder, which was invented by Texan Willie Gebhardt in 1894. It was this ingredient, along with ground beef, cumin, iceberg lettuce, and cheddar cheese, that made the taco possible.
Combine all seasonings and mix well. Store in an air-tight container.
Use in place of a packet of taco seasoning.
2 tablespoons of seasoning is needed per pound of taco meat.
When you make tacos, brown ground beef and drain excess fat. Add in 2 tablespoons seasoning per pound of meat along with 2/3 cup water per pound of meat. If you want more of a sauce, whisk in 2 tablespoons of flour.
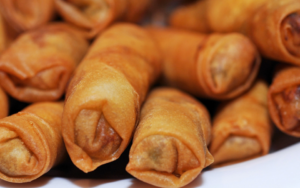
Lumpia are Filipino fried spring rolls filled with ground pork and mixed vegetables. Serve them as an appetizer or finger food, with a sweet and sour dipping sauce.
Lumpia was introduced to the Philippines during the pre-colonial period by early Hokkien immigrants and traders from Fujian between 900 and 1565 AD. The name is derived from Hokkien, a language that originated in southeastern China: “lun” means wet, moist, or soft, and “pia” means cake or pastry.
Lumpia are Filipino fried spring rolls filled with ground pork and mixed vegetables. Serve them as an appetizer or finger food, with a sweet and sour dipping sauce.
1pkgLumpia wrappersChinese or Vietnamese spring roll wrappers meant for frying can be used
2lbsground pork
1inchgingerpeeled and minced
2tbspsoy sauce
2largeeggsslightly beaten
3dashesblack pepper
6ozcabbagethinly sliced
Instructions
Using a serrated knife, cut the square lumpia wrappers in half so that you have two stacks of rectangular wrappers. Place a damp paper towel over the wrappers to keep them from drying out as you work.
Combine the pork, cabbage, garlic, ginger, soy sauce, eggs, and black pepper in a large bowl. Using your hands, or a rubber spatula, mix the filling well so that the seasonings are evenly distributed.
Place one of the rectangular wrappers vertically on your work surface with the short edge facing you. Place a heaping teaspoon of the filling on the wrapper about half an inch from the edge closest to you. Grasp the bottom edge of the wrapper and roll it up and over the filling, continuing to roll until 2 inches of wrapper remain.
Dip two fingers into a bowl of water, then moisten the last 2 inches of wrapper with your fingers. Finish rolling the lumpia, then rest it on its seam. Continue rolling with the rest of the filling and lumpia wrappers.
At this point, you can freeze your rolled lumpia if you wish by placing them in freezer bags and then into your freezer.
To cook the lumpia, fill a large frying pan with about 1/2-inch of vegetable oil. Heat the oil over medium-high heat. Gently place the lumpia into the hot oil and fry until golden brown on all sides, 3 to 5 minutes total (if frying frozen lumpia, it will take 1 to 2 minutes longer).
Place the fried lumpia on paper towels and serve immediately with sweet and sour sauce (bottled from the store is fine).
Notes
You can also add finely minced raw shrimp to the pork mixture if you’d like. Also, instead of ground pork, you can use ground beef or ground turkey.
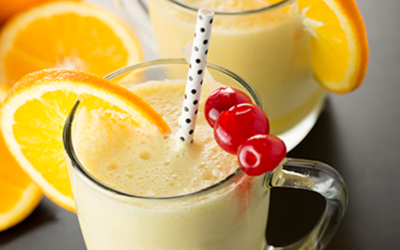
Make the classic Orange Julius right at home without a trip to Dairy Queen! This drink is made with simple ingredients that you likely already have on hand. It’s frothy and refreshing!
Origin
Orange Julius is an American chain of beverage stores, known for a frothy fruit drink. The chain has been in business since the late 1920s. The signature beverage is a mixture of ice, orange juice, sweetener, milk, powdered egg whites and vanilla flavoring. Most stores are located inside shopping malls.
In 1987, the Orange Julius chain was bought by International Dairy Queen. IDQ, a subsidiary of Berkshire Hathaway, owns the rights to all these stores and has expanded the chain so its drinks are offered at many of its Dairy Queen stores, called Treat Centers.
Make the classic Orange Julius right at home without a trip to Dairy Queen! This Orange Julius is made with simple ingredients that you likely already have on hand. It’s frothy and refreshing!
While the exact history of corn dogs is unknown, their creation happened sometime between 1920 and 1940. Several different vendors have claimed they invented them, in places such as Texas, Minnesota, Illinois, and California.
Newly arrived German immigrants in Texas, who were sausage-makers finding resistance to the sausages they used to make, have been credited with introducing the corn dog to the United States, though the serving stick came later. A US patent filed in 1927, granted in 1929, for a Combined Dipping, Cooking, and Article Holding Apparatus, describes them, among other fried food impaled on a stick.
Preheat oven to 375 degrees and spray a mini muffin pan with non-stick cooking spray.
In a mixing bowl, whisk together the butter and sugar. Add eggs and stir well. Add evaporated milk and whisk until combined.
In a separate bowl, add flour, cornmeal, baking soda, and salt, and stir to combine.
Whisk half the flour mixture into the egg mixture until combined. Add in the remaining flour mixture and whisk until completely combined.
Spoon 1 Tablespoon of batter into each mini muffin cup. Place a 1-inch hot dog piece into the middle of each muffin cup.
Bake for 10-12 minutes or until muffins are golden brown. Remove from oven and place muffin pan on a wire rack. Allow muffins to cool 5 minutes in pan before serving.
Notes
Spray the mini muffin pan liberally with non-stick cooking spray, including the cups and the area between the cups. This will make it easy to remove the muffins from the pan.
Use a 1 tablespoon measure to spoon the batter into the muffin cups. Overfilling the muffin cups will cause the muffin tops to connect while baking. The corn dog muffins will still taste good, but you’ll have to cut the tops apart. Trust me, I’ve had this happen.