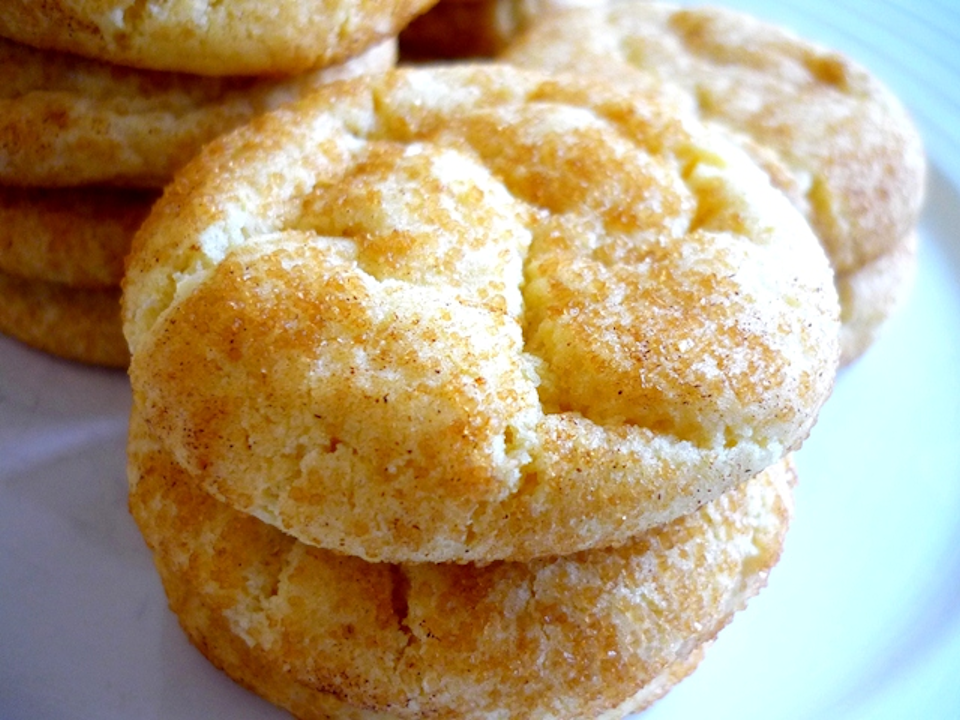
These Cream Cheese Snickerdoodles are extraordinarily soft and absolutely melt in your mouth! The cream cheese adds a subtle extra tang to a classic Snickerdoodle cookie.
The cinnamon cookie that we know and love was likely brought to America by Dutch-German immigrants. While they were always popular in Mennonite and Amish baking communities, their popularity skyrocketed in 1891.
These Cream Cheese Snickerdoodles are extraordinarily soft and absolutely melt in your mouth! The cream cheese adds a subtle extra tang to a classic Snickerdoodle cookie.
Combine butter and cream cheese in the bowl of a stand mixer (or in a large bowl and use an electric mixer) and beat until creamy.
Add sugar and beat until light and creamy and well-combined.
Add eggs and vanilla extract. Stir well.
In a separate bowl, stir together flour, cornstarch, cream of tartar, baking soda, salt, and cinnamon.
Gradually add flour mixture to butter mixture until completely combined. Cover bowl with plastic wrap and transfer to refrigerator to chill for at least 30 minutes.
Once dough has nearly finished chilling, preheat your oven to 350 degrees and line a baking sheet with parchment paper. Prepare your topping by stirring together sugar and cinnamon until well-mixed.
Remove chilled dough from refrigerator and scoop by 1 ½ Tablespoon-sized portions. Roll into a smooth ball between your palms and roll through cinnamon/sugar topping mixture until completely coated.
Place on prepared cookie sheet at least 2” apart and bake on 350 degrees for 10-13 minutes.
Cookies may still seem very soft in the center when finished baking, allow to cool completely on cookie sheet where they will finish baking without becoming overdone and dry.
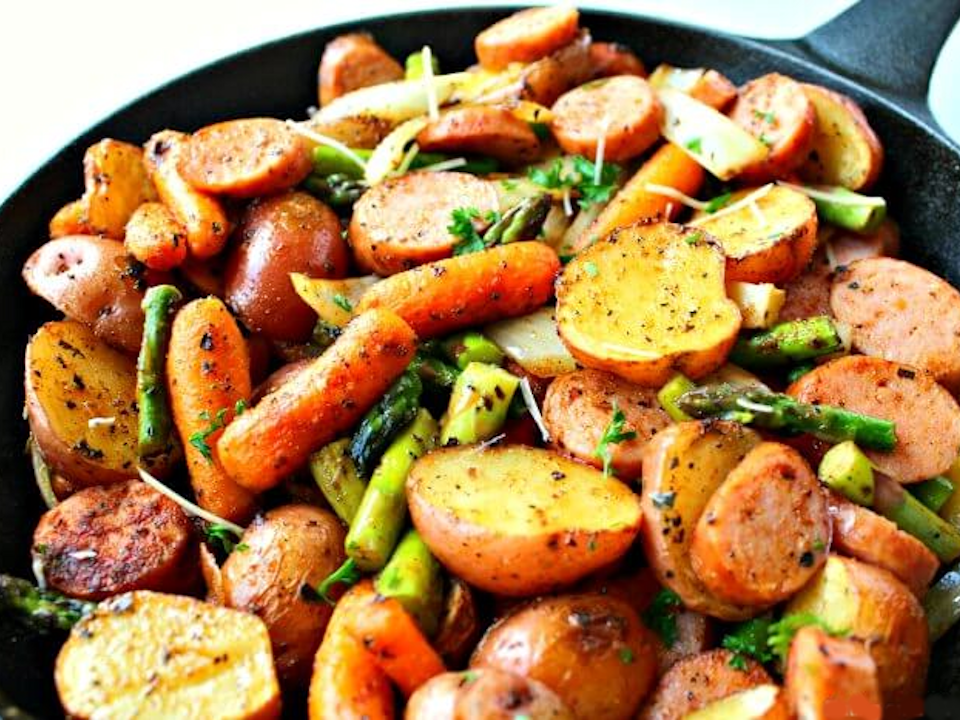
Copper frying pans were used in ancient Mesopotamia. Frying pans were also known in ancient Greece, where they were called tagēnon (Greek: τάγηνον) and Rome, where they were called patella or sartago. The word pan derives from the Old English panna.
Preheat the oven to 400 degrees F. Line sheet pan with parchment paper or foil for easier cleanup.
Slice the baby red potatoes in half. In a small bowl, mix together all of the seasonings.
Place the red potatoes and baby carrots on the sheet pan. Drizzle 2 tablespoons olive oil and half of the seasoning mix on top. Gently Toss to combine and place in the preheated oven for 20 minutes.
Prepare the asparagus by trimming the ends and cutting into 2 inch pieces. Thinly slice the yellow onion and thickly slice the sausage.
Remove the potatoes and carrots from the oven and push them to one side of the pan using a spatula. On the other side add the chopped asparagus, sliced onion, sausage, and minced garlic.
Drizzle the remaining 2 tablespoons olive oil and remaining seasoning mix.
Toss to combine and then toss those ingredients with the potatoes and carrots.
Bake for another 10-15 minutes stir or until potatoes and onions are roasted to your preference. Top the dish with freshly grated Parmesan. …and serve!
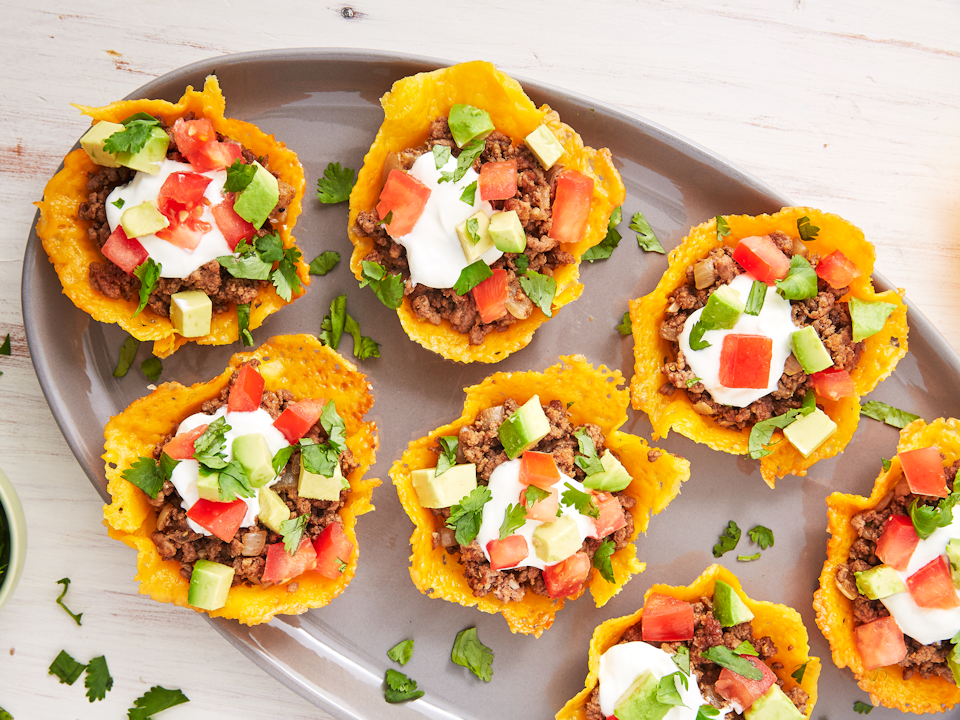
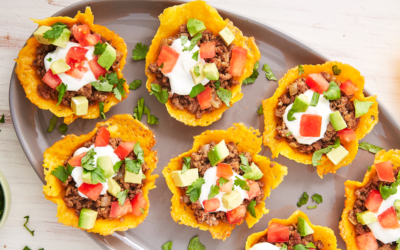
Cheese Taco Cups – Taco shells made out of cheese is the ultimate Keto hack. These cups take inspired from our Pepperoni Pizza Crisps and are so easy to make! (NOLOW – No or Low Carbs)
Origin of the Modern Taco
Authentic Mexican tacos in their modern form developed sometime in the 19th century in the booming Mexican silver mines. The first true type of taco was the “taco de minero,” or “miner’s taco.”
Taco shells made out of cheese is the ultimate Keto hack. These cups take inspired from our Pepperoni Pizza Crisps and are so easy to make! (NOLOW – No or Low Carbs)
Preheat oven to 375° and line a large baking sheet with parchment paper. Spoon about 2 tablespoons cheddar a few inches apart. Bake until bubbly and edges are beginning to turn golden, about 6 minutes. Let cool on baking sheet for a minute.
Meanwhile, grease bottom of a muffin tin with cooking spray, then carefully pick up melted cheese slices and place on bottom of muffin tin. Fit with another inverted muffin tin and let cool 10 minutes. If you don't have a second muffin tin, use your hands to help mold the cheese around the inverted tin.
In a large skillet over medium heat, heat oil. Add onion and cook, stirring occasionally, until softened, about 5 minutes. Stir in garlic, then add ground beef, breaking up meat with a wooden spoon. Cook until beef is no longer pink, about 6 minutes, then drain fat.
Return meat to skillet and season with chili powder, cumin, paprika, salt, and pepper.
Transfer cheese cups to a serving platter. Fill with cooked ground beef and top with sour cream, avocado, cilantro, letus, and tomatoes.
Notes
You can replace the all the spices when cooking the ground beef with a package of your favorite taco seasoning. Saves some time.
Apples are not native to North America. They originated in Kazakhstan, in central Asia east of the Caspian Sea. Alma Ata, capital of Kazakhstan, until 1997, means “full of apples.” By 1500 BC apple seeds had been carried throughout Europe. The Greeks, Etruscans, and Romans cultivated apples.
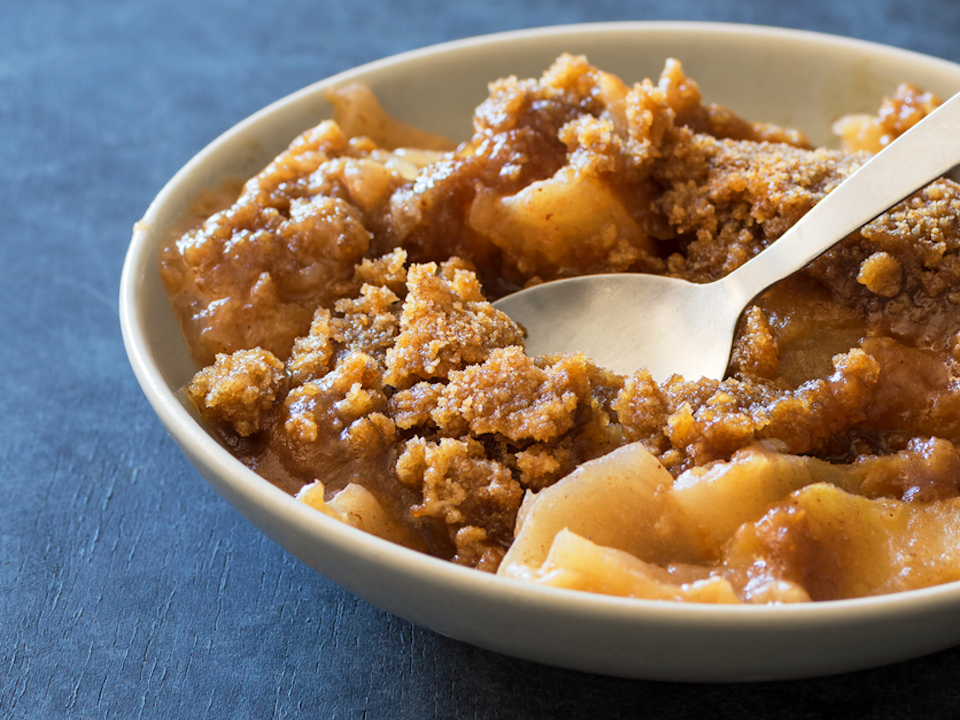
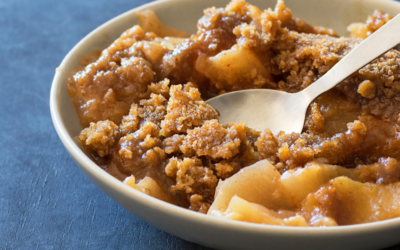
Place apples, sugar, cinnamon, nutmeg, and water in a saucepan.
Stir until well blended and cover and cook on medium stirring frequently for 10 minutes or until apples are semi soft.
If needed, thicken sauce using 1 Tbsp of cornstarch to 3-4 Tbsp of water. Mix into sauce and stir until thickened.
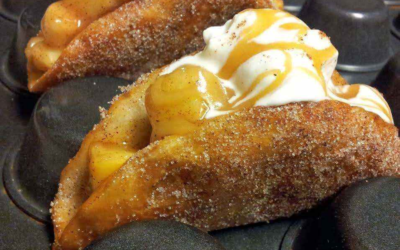
Heat oil on medium heat in a skillet and holding the tortilla folded in half, place the bottom on tortilla in the oil for a few seconds. Then lay it on one side until browned and then place other side down until browned. Remove from oil and Sprinkle browned tortilla with sugar-cinnamon mixture.
Fill taco shells with apple pie filling and top with whipped cream, and sprinkle a little more of sugar-cinnamon mixture on top.
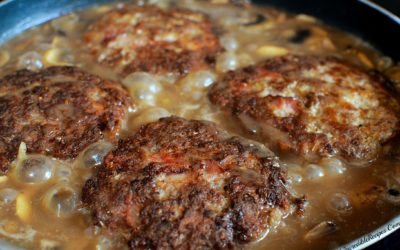
In Germany, a meat patty on bread called Rundstück Warm was popular by at least 1869. But the true precursor to the burger we know today seems to be an inexpensive dish called hamburger steak, which began appearing on American menus in the early 1870s.
In a Large bowl combine all the patty ingredients EXCEPT for the flour and olive oil & mix well.
Shape into 6 hamburger patties – all the same size.
In your flour you set aside, dip each patty so both sides are well coated
In a large- semi-deep cooking skillet, on medium heat heat the olive oil and place each of the patties in the pan.
Cook until browned on both sides, remove and set aside–reserving all the pan drippings for the gravy
In the pan with the drippings, add in the sliced onions to the skillet, add a tablespoon of water, and cook over medium heat until lightly caramelized, stirring frequently.
In a separate medium-sized bowl, whisk together the beef broth, water, 1/4 cup of flour, seasoning salt, pepper,, Worcestershire and gravy master,until well combined.
Pour this mixture into the skillet with the onions and stir constantly, until mixture begins to thicken.
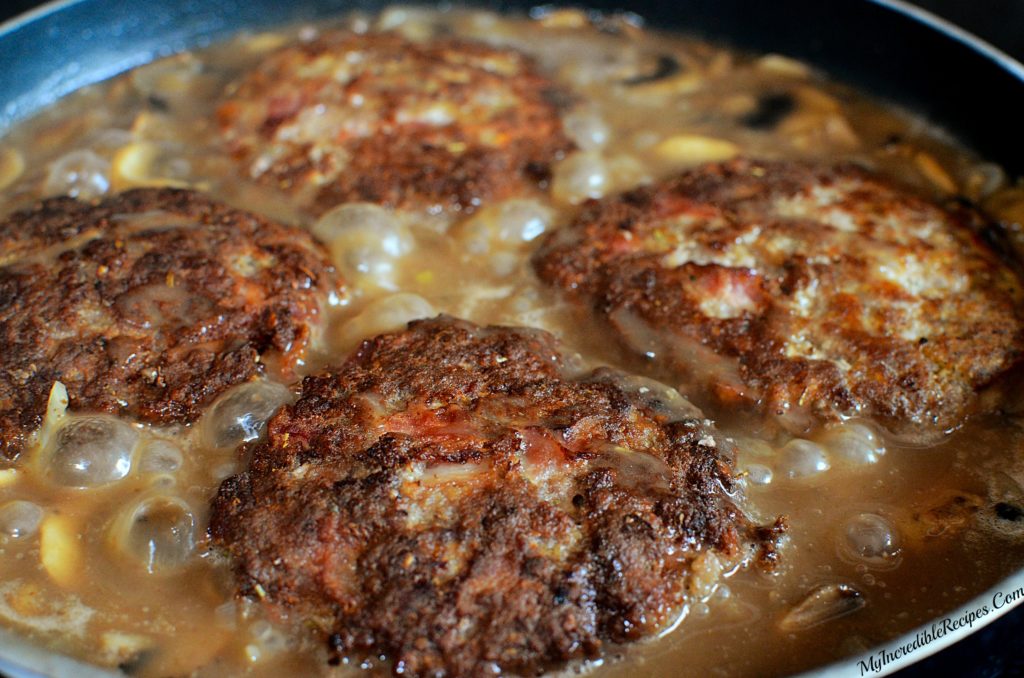
Return your cooked hamburger steaks to the skillet, flipping a few times to coat each side with the gravy, you want to make sure they absorb the gravy on each side.
Add in your sliced mushrooms, then reduce heat to a low simmer.
Cook, covered, for about 20 minutes longer being sure to flip them every 5 minutes to keep them coated well.
Serve over buttered mashed potatoes and a vegetable side.
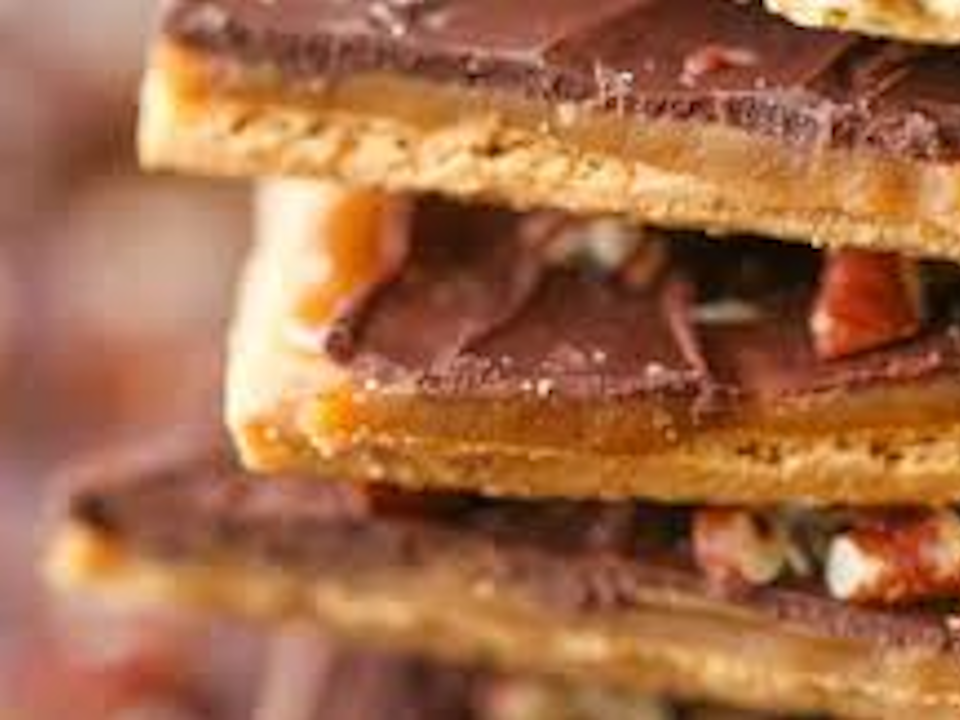
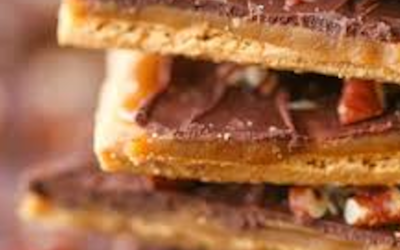
If you’re looking for a recipe that will disappear at holiday parties, cookie exchanges, neighborhood potlucks, or school bake sales, this graham cracker toffee crunch is a guaranteed winner!! It’s EASY and everyone LOVES it!!
When they are all mixed together, they are as American as a piecrust made with Reverend Sylvester Graham’s eponymous crackers. If you’ve ever wondered why graham crackers are called that it’s because it was Graham (1794-1851) who invented them in 1829
If you’re looking for a recipe that will disappear at holiday parties, cookie exchanges, neighborhood potlucks, or school bake sales, this graham cracker toffee is a guaranteed winner!! It’s EASY and everyone LOVES it!!
Preheat oven to 350F. Line a 9×13-inch pan with aluminum foil and spray with cooking spray.
Place graham crackers in pan in a single, flat layer so pan is completely covered with them. You will have to break some crackers to fill in the smaller spaces at the edges. It’s ok if there are slight gaps, doesn’t have to be perfect; set aside.
To a medium, heavy-bottomed saucepan with high sides, add the butter, brown sugar, salt, and heat over medium-high heat to melt. Stir constantly until butter has melted.
After butter has melted, allow mixture to boil for about 4 1/2 to 5 minutes at a medium-fast boil (lots of bubbles). Stir constantly to prevent burning. As you approach the 4 minute mark, mixture should seem thickened with the consistency of medium-thick caramel sauce. I pulled mine off the heat at 4 1/2 minutes because it was thick enough.
Evenly pour mixture over graham crackers.
Bake for about 7 minutes, or until there’s bubbling around the edges.
Remove pan from oven, evenly sprinkle with chocolate chips, return pan to oven, and bake for about 2 minutes, or until chocolate chips are glistening and have softened.
Use a spatula to smooth the chocolate chips into an even, smooth layer of melted chocolate.
Evenly sprinkle with toffee bits.
Allow toffee to cool for about 2 to 3 hours, or until chocolate has set up and dessert is sliceable.
Notes
*I made this on a very warm day and after 4 hours cooling at room temp, the chocolate was still on the melty side. I didn’t refrigerate it because of the condensation effect that happens after chocolate has been refrigerated and then comes to room temp and you can see fine water droplets on it, but this is merely a cosmetic issue. If you’re in a hurry you can expedite the cooling process by refrigerating, noting the condensation effect will occur.
Toffee will keep airtight at room temp for up to 2 weeks, or in the fridge for up to 1 months, or freezer for up to 3 months.
Where does Apple Crisp come from? The original crisp recipe was invented in Britain and first published in a cookbook in 1924. According to Wikipedia, this dessert became even more popular during World War II when food rationing made it difficult to find ingredients for the more elaborate apple pie.
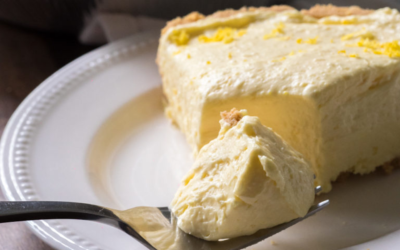
We give you: cream cheese lemonade pie. All the creaminess of a cheesecake, but less fussy and stuffed to the brim with the sweet and tart lemonade goodness we all know and love.
Elizabeth Goodwell, an American Cook in Philadelphia, who wrote down the first Lemon Pie recipe in 1806. According to some historians, the first recipe for lemon pie with a pastry base and lemon custard filling was written down in 1806 by Elizabeth Goodwell, an American cook in Philadelphia.
We give you: cream cheese lemonade pie. All the creaminess of a cheesecake, but less fussy and stuffed to the brim with the sweet and tart lemonade goodness we all know and love.
Combine evaporated milk and pudding mix in a medium bowl and beat on low speed for 2-3 minutes, or until thick.
In a separate bowl or mixer, beat cream cheese until light and airy, then mix in lemonade concentrate. Once fully incorporated, mix in pudding mixture.
Transfer filling mixture to pie crust, then place in refrigerator and chill for 4-6 hours, or overnight.
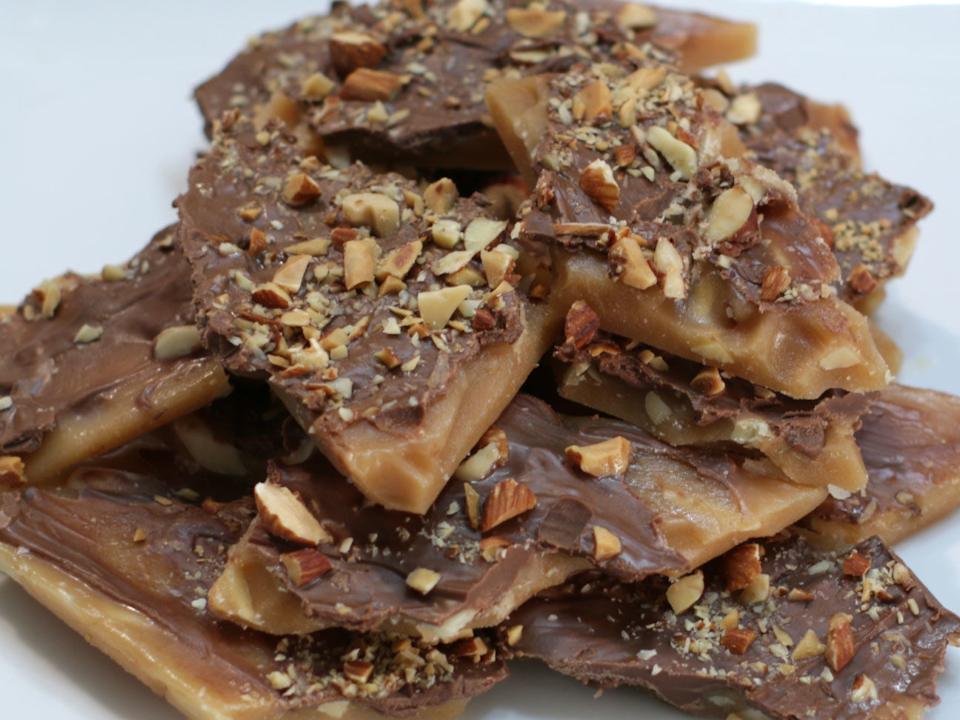
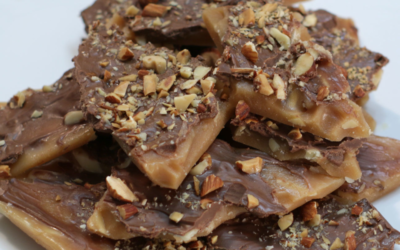
J. C. Haley and Harry Brown decided that the key to success was to innovate. In 1923, the company struck gold with a crunchy, log-shaped candy piece infused with butter and coated with chocolate and diced almonds. This delicious confection was dubbed ALMOND ROCA® by a Tacoma librarian.
In 1927 the candy was first sold in its [now famous] signature pink tin to improve shelf life. The new packaging allowed it to travel easily and so, when WWII required troops to ship out overseas, it was the candy that went with them. It also traveled with U.S. troops to Korea and Vietnam.
Line a cookie sheet with tin foil and grease with cooking spray, set aside.
Combine butter and sugar in a large saucepan over high heat. Attach a candy thermometer to side of saucepan. Stir until mixture comes to a boil. When mixture reaches 290°F, remove from heat and immediately stir in ¾ cup of chopped almonds.
Pour mixture onto cookie sheet and spread evenly.
As caramel mixture cools, microwave chocolate chips with oil in short increments of 20 seconds, stirring after each increment of time, until chocolate is completely melted. Pour melted chocolate over top of slightly cooled toffee-nut mixture.
Sprinkle reserved chopped almonds over top of chocolate. Refrigerate for at least 2-3 hours or overnight before breaking into pieces to serve.
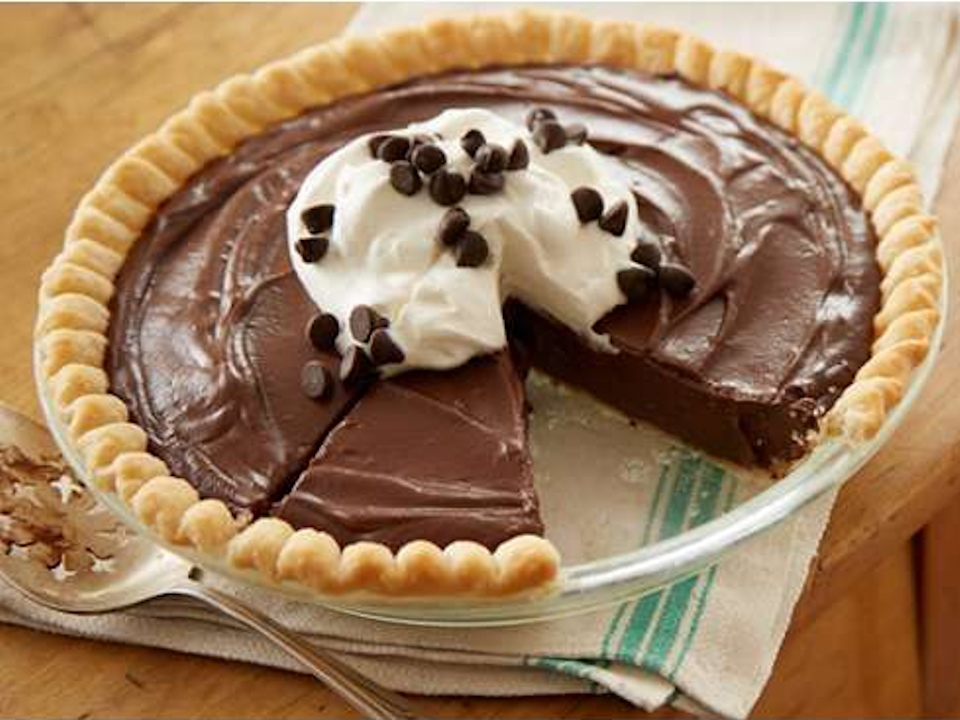
It all started in Latin America. Chocolate’s 4,000-year history began in ancient Mesoamerica, present day Mexico. It’s here that the first cacao plants were found. The Olmec, one of the earliest civilizations in Latin America, were the first to turn the cacao plant into chocolate.
2cupsHershey's dark chocolate chips12 oz pkg divided
4egg yolks
1/3cupcornstarch
2/3cupsugar
3cupsmilk
2tbspbuttersoftened
19 inch Pie Shellpre-made
whip cream for topping (optional)
Instructions
Bake pie shell; cool. Stir together sugar, cornstarch and salt in 2 quart saucepan. Combine egg yolks and milk in container with pouring spout. Gradually blend milk mixture into sugar mixture. (You can use a pre-made pie shell to save time)
Cook over medium heat, stirring constantly, until mixture comes to a boil. Boil and stir 1 minute. Remove from heat; stir in butter and vanilla. Add 1-3/4 cups chocolate chips; stir until chips are melted and mixture is well blended. Pour into prepared pie shell; press plastic wrap onto filling. Cool. Refrigerate several hours or until chilled and firm. Garnish with whipped cream and remaining chocolate chips, if desired. Makes 8 servings.