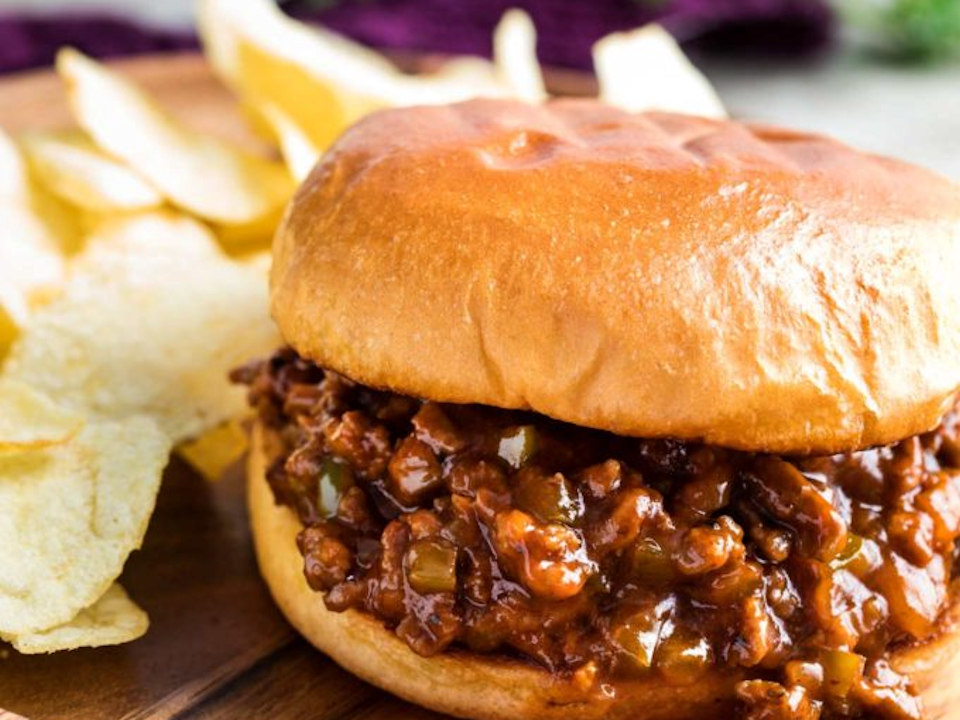
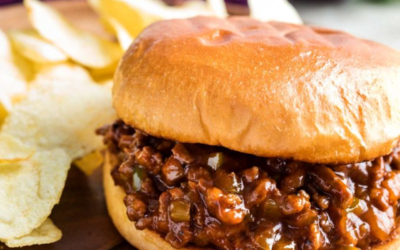
Sloppy Chicken – This a healthy alternative to Sloppy Joes. I was really surprised with this one. Simple ingredients and it tasted great. You won’t be sorry with this. The kids will love you.
Some attribute the original sandwich to a cafe in Sioux City, Iowa, where, many years ago, in 1930 a cook named Joe added tomato sauce to his “loose meat” sandwiches. Voila: a new between-the-bread offering, and the sandwich’s official name.
Ross and Noreen Edlund founded Skillets Restaurants in 1995, in Naples, Florida. Their goal was to create a restaurant that offered the local community higher quality comfort food and personal service than budget diners and bland restaurant chains.
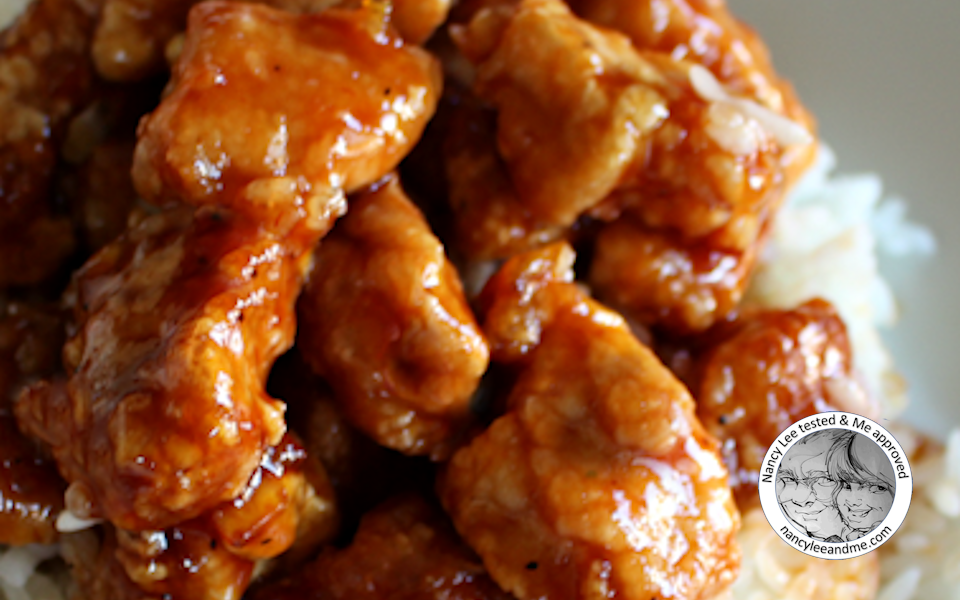
We tried this recipe and it was the best tasting Orange Chicken. Better than most restaurants. You won’t go wrong with the recipe.
Origin
The variety of orange chicken most commonly found at North American Chinese restaurants consists of chopped, battered and fried chicken pieces coated in a sweet orange-flavored chili sauce, which thickens or caramelizes to a glaze. While the dish is very popular in the United States, it is most often found as a variation of General Tso’s chicken in North America rather than the dish found in mainland China.
In a sauce pan, add the BBQ sauce, marmalade, and soy sauce. Turn the heat on low and let it simmer for 20 minutes, stirring a few times.
Meanwhile, cut up your chicken breasts into cubes. In one bowl beat 1 eggs, while in the other bowl place the flour. This can be done in a ziploc bag also.
Dip pieces of chicken in the egg and then cover in flour. Set on an extra plate.
Add a thin layer of oil to a frying pan and turn your stove on medium/high heat. Once it sizzles, add the chicken to the pan. Let it cook for 3-5 minutes each side until it's brown and cooked on the inside.
Set the oily pieces on a paper towel and let drain.
Add the chicken to the sauce and toss!
Eat it on top of white rice and enjoy. I think veggies would be good with it such as green peppers or broccoli, voila, dinner!
George Washington Carver (1864–1943), an American agricultural extension educator, from Alabama’s Tuskegee Institute, was the most well known promoter of the peanut as a replacement for the cotton crop, which had been heavily damaged by the boll weevil. He compiled 105 peanut recipes from various cookbooks, agricultural bulletins and other sources. In his 1925 research bulletin called How to Grow the Peanut and 105 Ways of Preparing it for Human Consumption, he included three recipes for peanut cookies calling for crushed or chopped peanuts. It was not until the early 1930s that peanut butter was listed as an ingredient in the cookies.
Using a stand mixer or hand mixer, beat together butter and both sugars (a paddle attachment is best for this). Beat until creamy (2-3 minutes). Add in 1 egg at a time, and continue to beat at a lower speed. Once eggs are incorporated, add in vanilla and peanut butter. Pause to scrape down the sides of a bowl with a rubber spatula when needed. Beat until well combined and creamy, set aside.
In a smaller bowl, mix together flour, baking soda, and baking powder. Fold dry ingredients into wet until a thick dough forms. Be sure to scrape down the bottom and the sides of the bowl to ensure dry ingredients are completely mixed in the dough. Fold in peanut butter chips and peanuts. Cover dough and refrigerate for at least 3 hours (or overnight).
Preheat your oven to 350 degrees when ready to bake.
Using a 1.5 – 2 inch ice cream scoop, or large spoon, spoon cookie dough onto a baking sheet about 2 inches apart. Using a fork, gently press down on the cookies in two directions to create a criss-cross fork pattern across the cookies. Cookies should flatten slightly, but maintain a thick shape.
Bake for 16-18 minutes (depends on oven and thickness of cookies). Cookies will still look slightly raw in the middle when pulled out of the oven, and will be soft to the touch and also slightly firm. Cool on the pan for at least 5 minutes, then remove to a cooling rack or cool surface.
Cookies can be stored in an air tight container for a few days, or stored in the freezer and defrosted when ready to consume. Dough can stay in the fridge for up to 3 days, but should be moved to the freezer after 3 days.
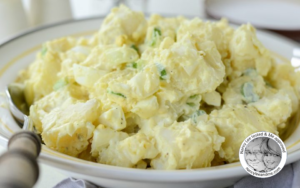
Potato salad is widely believed to have originated in Germany, spreading largely throughout Europe, the United States, and later Asia. American version most likely originated from recipes brought to the U.S. by way of German and other European immigrants during the nineteenth century.
American-style is served cold or at room temperature. Ingredients often include mayonnaise or a comparable substitute (such as yogurt or sour cream), herbs, and raw vegetables (such as onion and celery).
In a 4-quart saucepot, cover potatoes with water and bring to a boil over medium heat. Reduce heat and simmer for about 10 minutes until potatoes are tender. Drain and cool slightly.
In a large bowl combine mayonnaise, vinegar, salt, sugar, and pepper. Add potatoes, celery onion and chopped hard boiled eggs and toss gently.
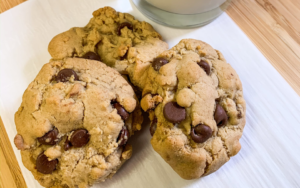
A chocolate chip cookie is a drop cookie that features chocolate chips or chocolate morsels as its distinguishing ingredient. Chocolate chip cookies originated in the United States in 1938, when Ruth Graves Wakefield chopped up a Nestlé semi-sweet chocolate bar and added the chopped chocolate to a cookie recipe.
Preheat oven to 350°F and position rack to center of oven. Line a baking sheet with parchment paper.
In a bowl, whisk together dry ingredients including the flour, baking soda, and salt.
In a mixer, beat butter and sugar on medium-high speed until light and fluffy. Then add eggs and beat until blended. Add vanilla and beat until blended.
Turn off mixer and pour flour mixture into the bowl. Mix on medium until flour is thoroughly mixed in, then mix on high speed for a few seconds to pull dough together. Dough should be chunky.
Add chocolate chips and beat on high for no more than five seconds to mix in chips.
Make large spoonfuls on the lined baking sheet, but do not flatten. Bake until the tops are lightly brown; 10 to 11 minutes. The larger the spoonfuls, the longer it'll need to stay in the oven. Cool on the pan for one minute, then transfer cookies to a cooling rack.
Store cookies in a tightly covered container at room temperature for up to three days.